Let's learn the correct way to create an Excel Macro
SHARE
You can easily create a macro in excel by using Excel Macro Recorder or by writing macros with visual basic for applications code on excel.
The easiest method to create a macro in excel is to use the “Record Macro” feature. Alternatively, we can write macros with visual basic for application code on Excel.
Why do we need macros in excel ?
Let us consider a simple example.
When I found numbers like 3.14159265359, 1.4121356 having lot of decimal digits in Excel cells I want to apply few formattings to look them cleaner and more readable. So assume that I want to apply following formattings.
- Apply Number formatting to round them off to two decimal places.
- Then change font styles to “Bold Italic” with red color.
- Finally change the cell background color to Yellow
If you just have two, three occurrences of this type of cells, you don’t have to worry much.
But if you have a dozens of cells to repeat this procedure, that will be really boring.
Wouldn’t you like if the Excel can remember what you want to do and repeat it by Excel itself for you when you told to do so? That is what a macro would do for you. It saves lot of time in the long run.
How to create a macro in excel using macro recorder?
Now let us record a simple macro for above example using “Record Macro…” command in excel.
Step 01: Select one cell that you want to apply the formatting.
Step 02: Go to “View” tab of the Excel Ribbon.
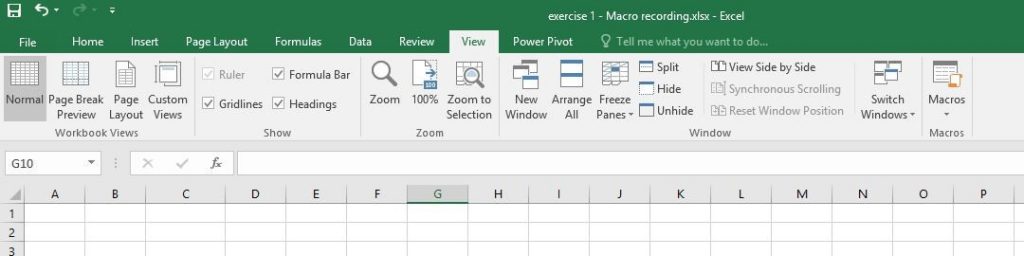
You can see that there is a command group called “Macros” to the right side of the View tab.
There is only one command button is there within “Macros” command group and it is also called as “Macros”.
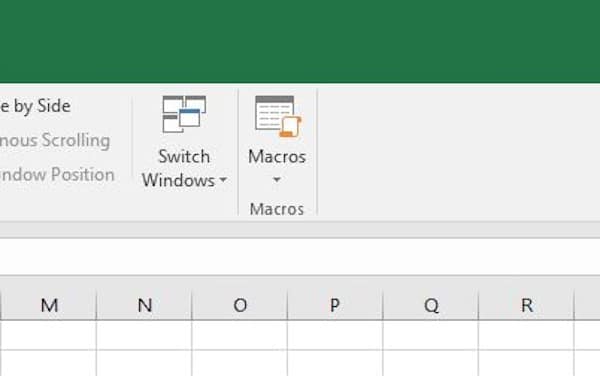
Step 03: Click the down arrow head below the “Macros” command button.
A drop down menu appears.
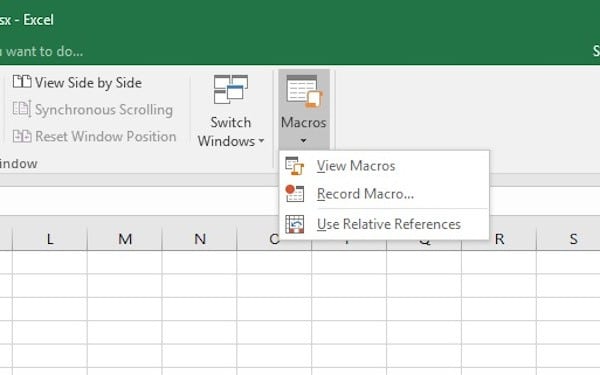
Step 04: Click “Record Macro…” menu item from the appeared drop down menu.
Now, “Record Macro” dialog box appears.

Record macro dialog box offers you to customize the basic settings and options of the Macro.
Step 05: Customize and Setup macro settings.
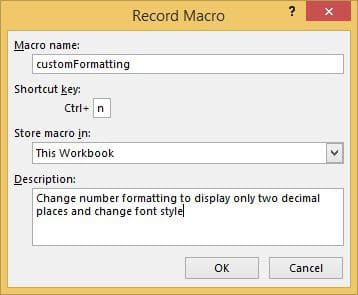
First option is to give a unique name for your macro.
You can give any valid name but should be started with a letter or an underscore (_).
It does not allow you to keep spaces or invalid characters like “@, #, &”. So technically it does allow only single word names or identifiers just like variables and function name if you are familiar with them.
Next option is to assign a Shortcut key to your macro. This is actually the most important option for me as it allows you to run the macro by simply using this shortcut key.
Put the cursor inside the input box and then press your preferred key to be the shortcut key to be combined with “Ctrl” key. You can also press a key combined with shift key also.
In this case I will press just the “n” key.
So when I want to run the macro I will just press the “Ctrl” + “n” keys from the keyboard.
Next you have to select where to store the created macro.
Shall we keep it as “This workbook” for this example.
Finally, you have the option to write a description for your macro. This is not essential but if you like you can write a simple description to say what is this macro is about. May be it will be easy for you or someone else who uses the macros in this workbook later.
Now the “Record Macro” dialog box looks like this.
Finally click OK.
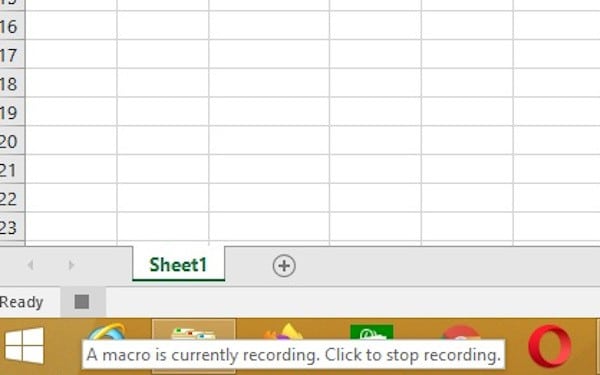
If you look at the left side edge of the status bar located bottom of the excel window, there is a small solid square.
If you move the cursor on top of that, a tool tip appears saying “A macro is currently recording. Click to stop recording.”.
Step 06: Apply the required formattings to the already selected cell.
Do not click any cell after macro recording started.
Go to “Home” tab.
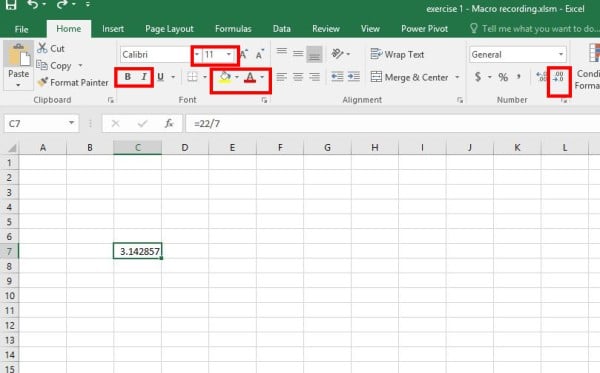
Then use “decrease decimal” button in “Number” command group to decrease decimal digits to two.
And then change the font styles and make it Bold Italic fonts using commands in “Font” command group.
Finally, you can change the Fill color to Yellow and Font color to Red.
Step 07: Stop recording the macro to finish.
You have two options here to stop recording the macro.
- The easiest and quickest method is to click the macro recording indicator located to the left of the status bar.
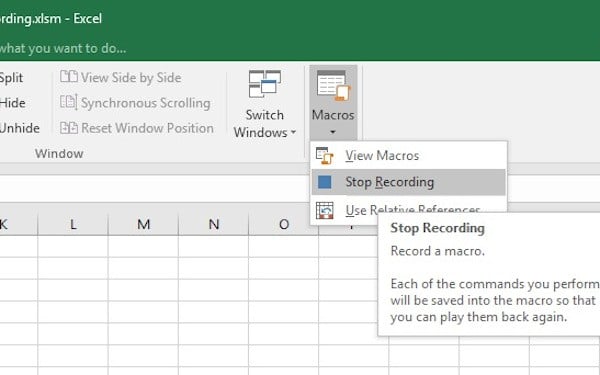
- The other method is to go to “View” tab. Then click the down arrow located below the “Macros” command button. Finally, Click “Stop Recording…”
Step 08: Run the Macro whenever you need it by using assigned shortcut keys or using “Macros” command.
Select the cell you want to apply the macro procedure in Macro.
There are two methods to run a macro.
01 .Press shortcut keys which you assigned when you are recording the macro. I have to press “Ctrl” + “n” to run the “customFormatting” macro.
02 .Second method is to use “Macros” command button.
- Go to “View” tab as usual after selecting required cell.
- Next click the “Macros” button.
“Macro” dialog box appears.
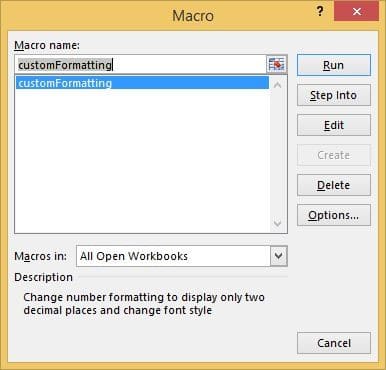
“Macro” dialog box lists all the macros available to use in this workbook. You should be able to see the macro you just created within the macro list.
- Select the macro you want to run. If it has only one macro in the list it will be already selected by default.
- Click “options” button if you want to change or see the assigned shortcut key for the macro. You can also change the description for your macro.
- Now if everything is fine, just click the “Run” button to run the macro.
You will see that excel automatically applied all the required formattings to the selected cell in a split second.
Be cautious, macros can’t undo
Please be extremely careful and cautious when running a macro because actions taken by a macro cannot undo. So it is advisable to keep a backup of your precious data when working with macros.
SHARE